Go to Settings » Account Settings » Single sign-on tab in Atatus. You need to follow the below steps to enable single sign-on.
- In order to get the SSO provider URL, login to Auth0 and click on the Create Application tab present in the dashboard.
- Provide a name for your application, choose the application type as Regular web Applications and click on the Create button.
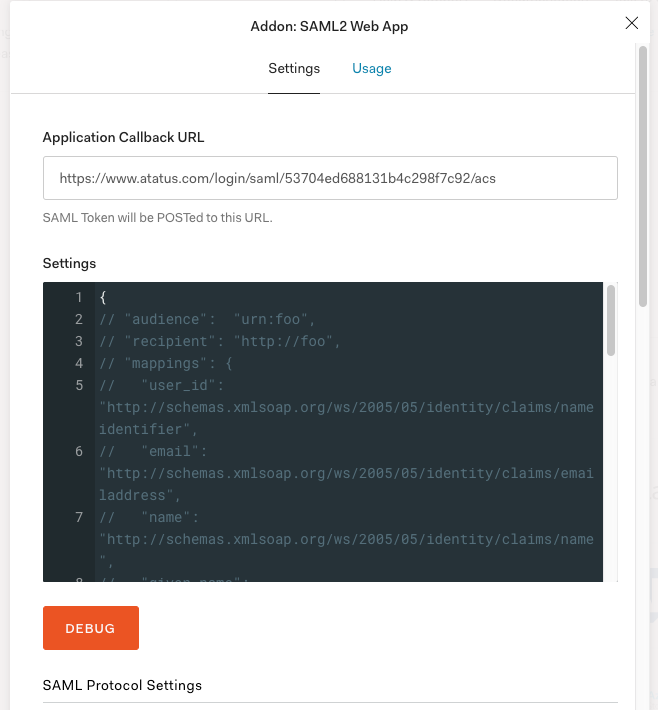
- Click on the Addons tab in your application page and enable the SAML2 webapp.
Copy the Atatus SAML URL and paste it into the Application Callback URL text box and click on the Enable button present at the end of the page scroll.
There are two ways to copy the Identity Provider metadata from Auth0:
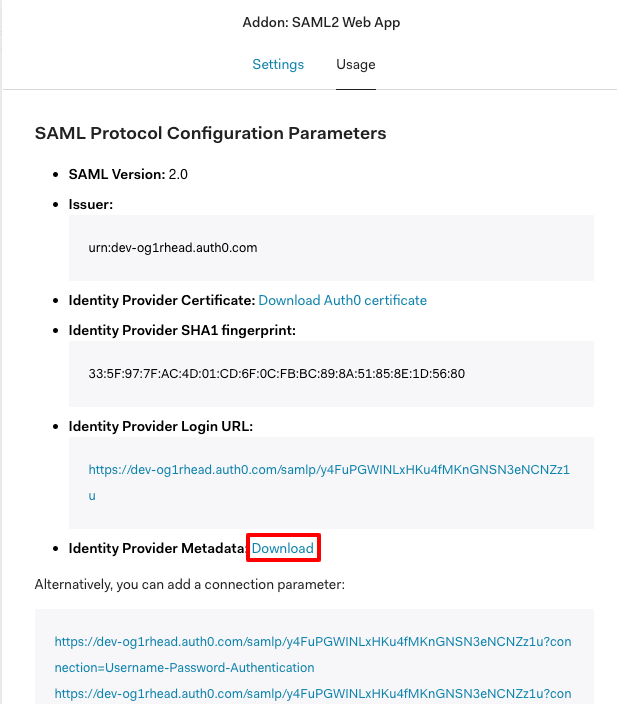
- Option 1: Click on the Addons tab in your application page and enable the SAML webapp. Next, click on the Usage tab. Right click Identity Provider Metadata and choose copy link address and paste it into the SAML metadata URL from your SSO provider text box in Atatus.
- Option 2: Click on the Settings tab in your application page and scroll to the end to click on the Show Advanced Settings. Next, click on the Endpoints tab and copy the value from the SAML Metadata URL text box and paste it into the SAML metadata URL from your SSO provider text box in Atatus.
Click on the Save SSO button.
Map SAML attribute
To map an email address using the SAML attribute, do the following in Auth0:
- In the sidebar of your application, click on Rules.
- Click on the Create Rule button.
- Enable the SAML Attributes mapping.
- Create the rule with this code:
function (user, context, callback) {
    context.samlConfiguration.mappings = {
        "http://schemas.xmlsoap.org/ws/2005/05/identity/claims/nameidentifier": "email",
        "User.firstName": "name"
    };

    callback(null, user, context);
}
Now your Single Sign-on feature is enabled and ready for use.
 +1-415-800-4104