You need to follow the below steps to enable single sign-on.
In Atatus
Go to Settings » Account Settings » Single sign-on tab in Atatus.
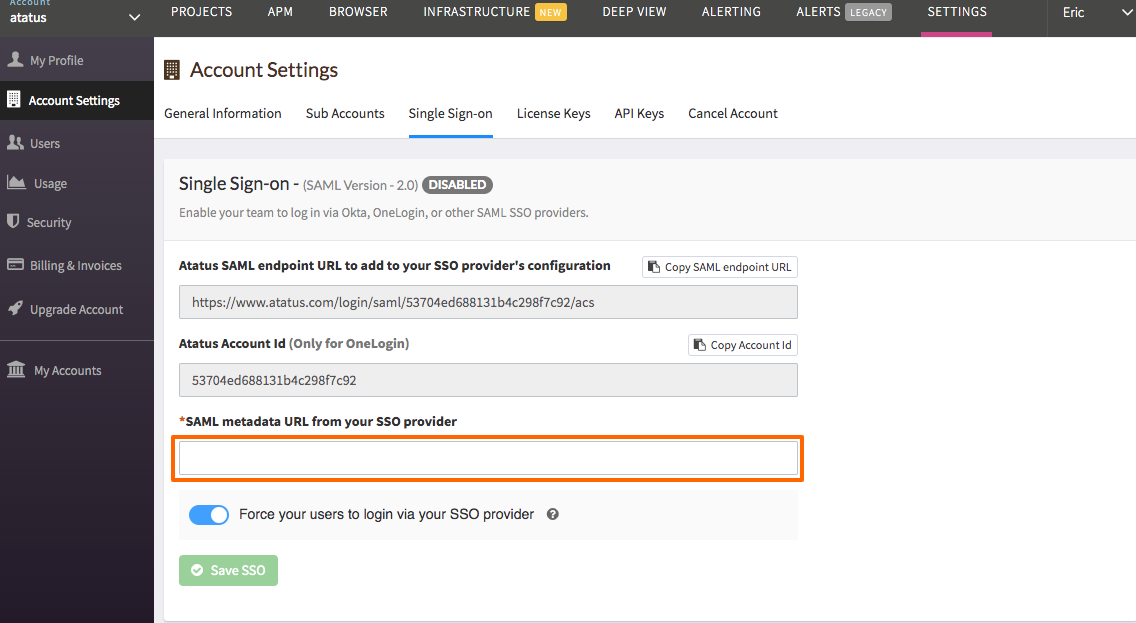
Copy the Atatus SAML endpoint URL and the Account ID. You need to follow the below steps to get SAML metadata URL.
In JumpCloud:
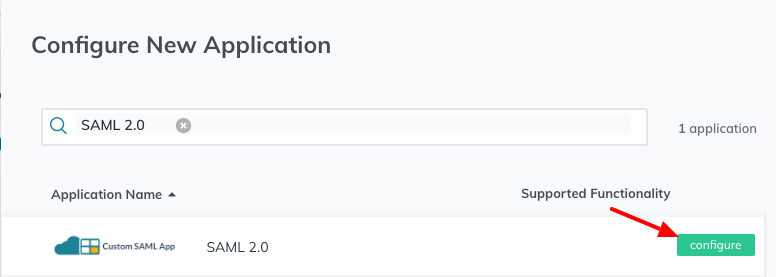
In the JumpCloud Administrator console, click on Applications and then click on + button to Configure New Application.
Search on SAML 2.0, then click on configure.
In the ACS URL text box, paste the Atatus SAML endpoint URL which you already copied from Atatus Settings » Account Settings » Single sign-on. In the Entity ID text box, enter Atatus Account Id.
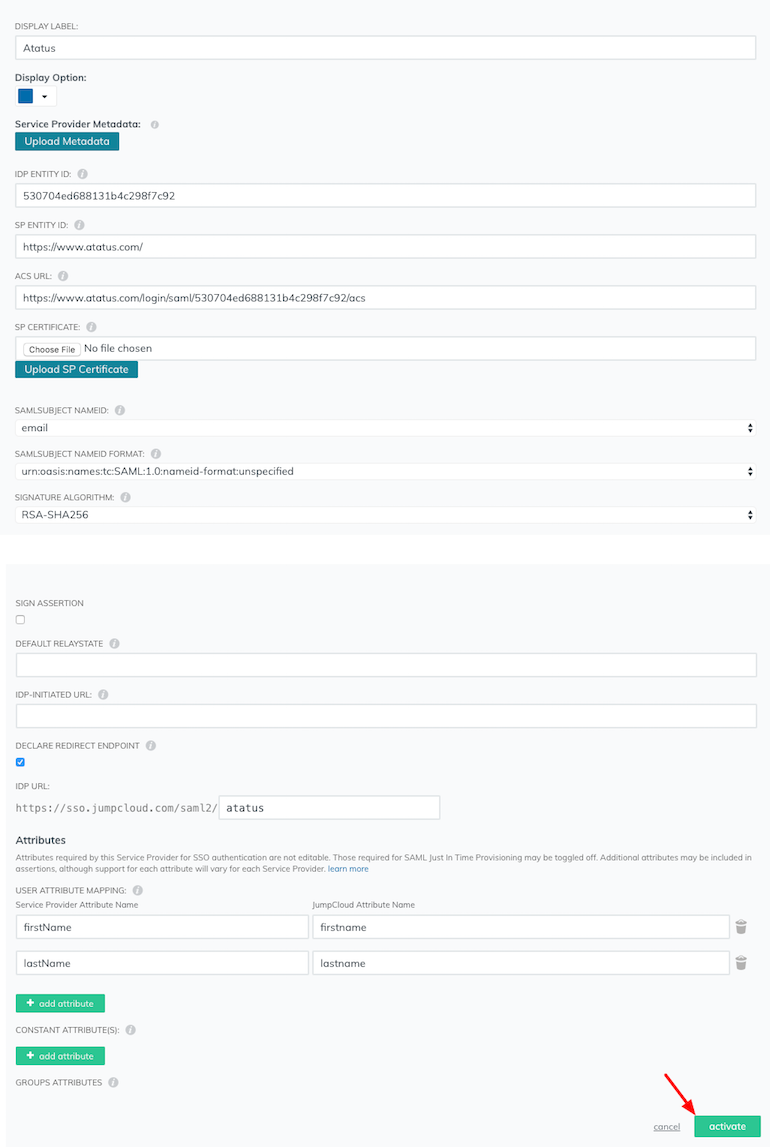
Select the checkbox DECLARE REDIRECT ENDPOINT.
In the attribute section, add mapping for firstName and lastName as shown in above screenshot.
Click activate button to activate.
Once activation is successful, you can see export metadata link near the "deactivate" button at the bottom.
Click export metadata to download the IDP metadata XML file. Then you have to host the downloaded XML file either in a static server or cloud storage. Atatus can only access the XML file if it is publicly hosted.

In Atatus
Go to Settings » Account Settings » Single sign-on tab in Atatus.
- Paste the public URL of the SAML metadata XML into the SAML metadata URL from your SSO provider text box.
- Click on the Save SSO button.
Now your Single Sign-on feature is enabled and ready for use.
 +1-415-800-4104