You need to follow the below steps to enable single sign-on.
In Atatus:
Go to Settings » Account Settings » Single sign-on tab in Atatus.
- Atatus Account Id: Make a note of this value.
Paste Identity Provider metadata link into the SAML metadata URL from your SSO provider text box.
Sign into the Okta Admin dashboard to generate this value. See step 5.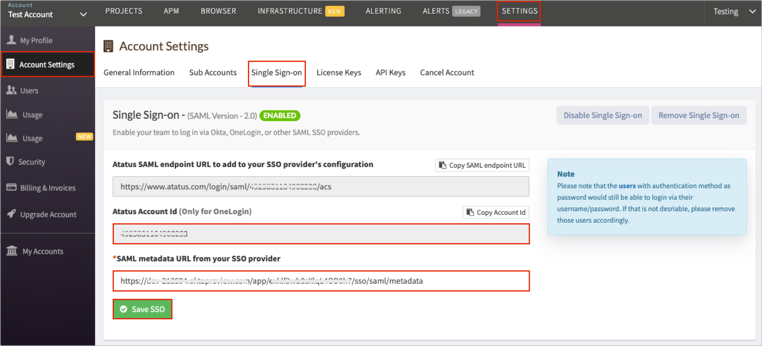
Click on the Save SSO button.
In Okta:
- Login to Okta and click on the Applications drop-down menu and click on the Applications option.
- Click on the Add Application button.
- Search for the Atatus application and click on the add button of Atatus app.
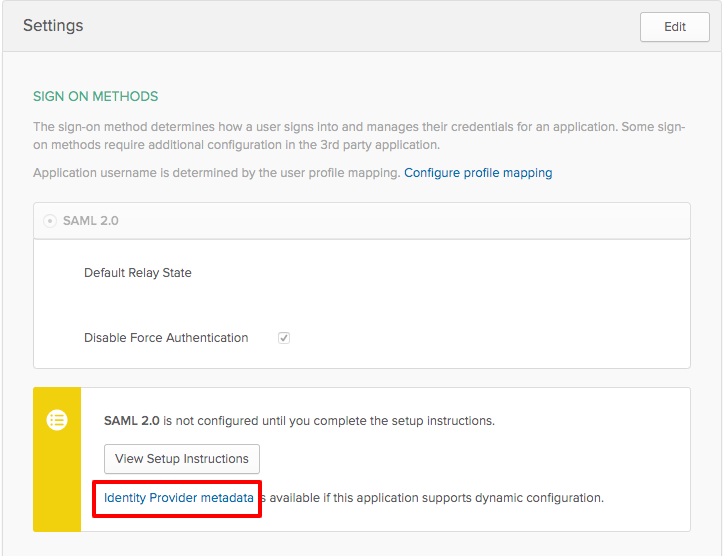
Navigate to Sign On tab for the Atatus app and then click Edit.
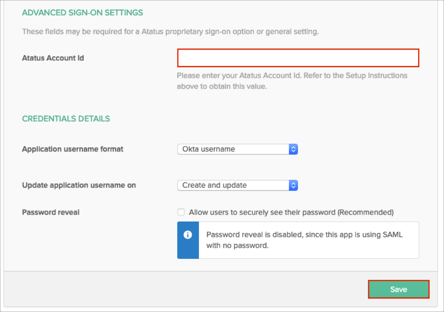
- Scroll down to the ADVANCED SIGN-ON SETTINGS section.
- Enter the Atatus Account Id value you made a copy from Atatus SSO settings.
- Click Save
Right click on the Identity Provider metadata link and copy the link and paste into to Atatus SSO settings.
Now your Single Sign-on feature is enabled and ready for use.
 +1-415-800-4104